Upscale Workspace
← Mask · Workspaces · Next: Global Timeline →The Upscale workspace increases the resolution of existing renders. AI video models often render at lower resolution than the final delivery target (especially for 4K work); Upscale closes that gap.
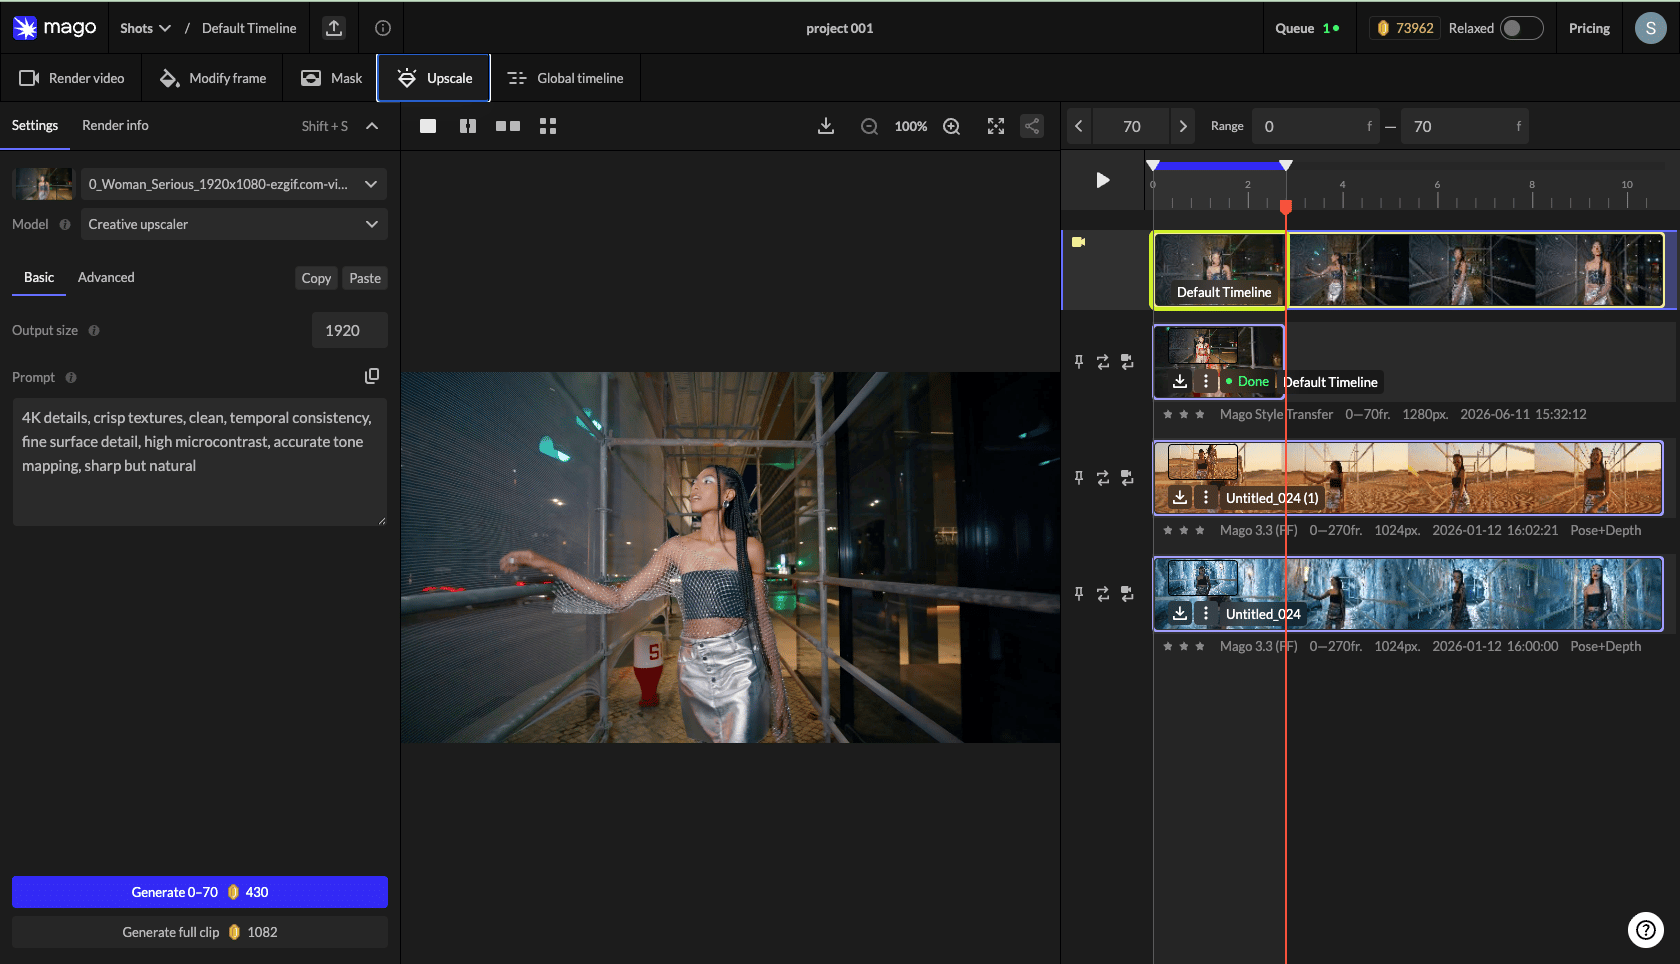
Source selector
Pick any video or render in the shot. To upscale a specific render in one step:- From the Render Video tab, click Edit this Render on the track to upscale.
- Switch to the Upscale tab.
- Pick an upscale model.
- Click Generate full clip.
The two upscale models
Full detail: Upscale models catalog.| Model | Approach | Best for |
|---|---|---|
| Upscaler | Simple, non-creative enlargement. One setting: ×2 or ×4. | Final-pass output prep. Predictable. Use when the input is already what you want, just the wrong size. |
| Creative Upscaler | Partially reconstructs while upscaling. Adds detail, fixes artifacts. Many settings. | Recovering low-res input, removing artifacts, restoration work. |
Creative Upscaler — the key setting
The most important Creative Upscaler setting is Denoise:- 0.3 — light reconstruction. Small detail boost without disturbing the original much. Safe default.
- 0.5–0.6 — moderate. Adds visible detail.
- 0.7–0.8 — heavy reconstruction. For restoring damaged, blurry, or low-res input. Output deviates noticeably from the source.
When to upscale
Upscaling is usually a final pass:- Validate the look in Modify Frame.
- Render at 1280 with Mago Transform or Style Transfer.
- Click Edit this Render on the final track.
- Switch to Upscale → Upscaler ×2 for 2560 output, or Creative Upscaler if reconstruction is desired.
⚠️ Warning — Upscaling lower-quality input directly is wasteful. Fix the look first, then upscale.
← Mask · Workspaces · Next: Global Timeline →