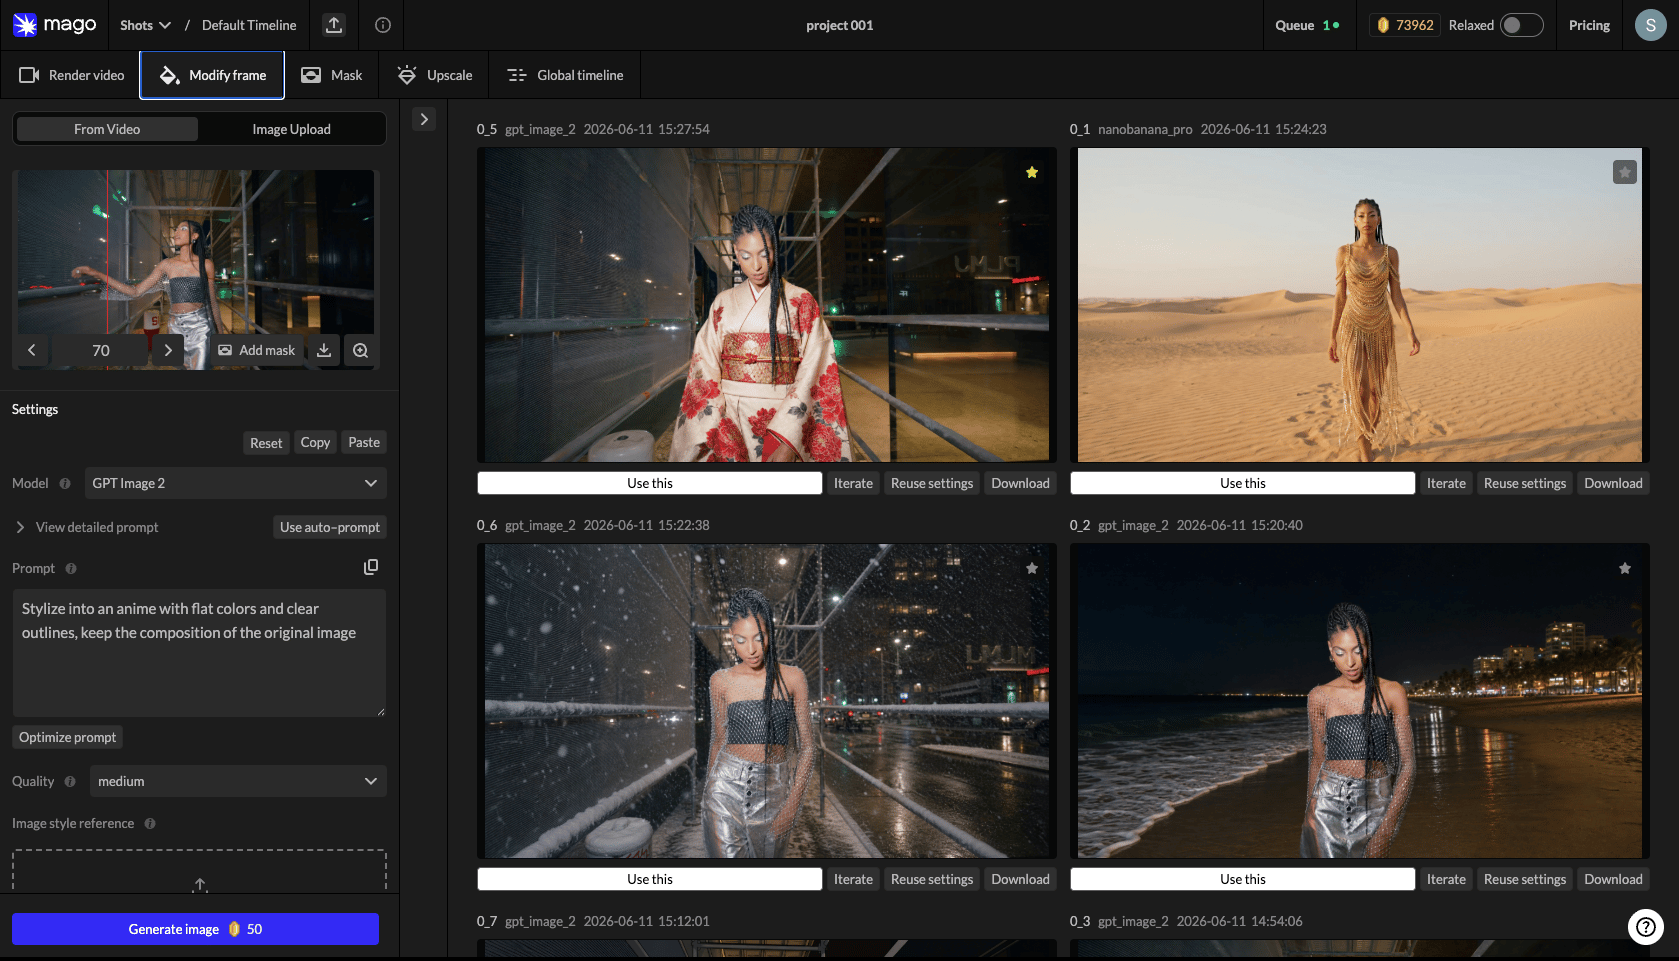
Modify Frame Workspace
← Render Video · Workspaces · Next: Mask →Modify Frame is the image generation workspace. It edits or stylizes single frames using image-to-image models, and it’s the recommended starting point for almost every video workflow.
Why Modify Frame first
Validating a style on an image is faster and cheaper than testing on video — a failed image render costs a fraction of a failed video render. The validated image then becomes the reference frame for the video model, producing dramatically better results than prompting the video model blind. Strong fit for:- Style transfer (apply a visual style).
- Element editing (change a specific thing in the frame).
- Character replacement preparation (generate the new character matching the source pose).
- Environment changes (turn a building into a castle).
- Lighting changes (turn day into night).
Layout
- Left — Settings panel: source frame selector and per-model controls.
- Middle — generation history grouped by source frame (collapsed by default; open via the chevron).
- Right — live generation feed with the most recent results.
Source frame selection
The Settings panel lets you:- Preview a thumbnail of the source video.
- Scrub to any frame, or type a specific frame number.
- Download the current frame.
- Zoom for full-screen preview.
- Source override — upload an image to use instead of a frame from the video.
💡 Tip — The source override is useful when continuing work that started in another tool. Edit a frame externally, upload it, and keep iterating in Mago.
Model selection
Image models are detailed in the Image models catalog. Quick guide:- GPT Image 2 — best precision for editing. Respects original content closely. Supports a mask image for region-specific edits.
- Nano Banana Pro — strong general-purpose results. Good default when unsure.
- Nano Banana 2 — fast, supports 4K output.
Prompting
All image models accept instruction-based prompts. The most important habit is including preservation directives.Example ❌ Bad: “castle” 🟡 Better: “Change the building into a stone castle.” ✅ Best: “Change the building into a medieval stone castle. Keep the original character, composition, lighting, and outlines intact.”See the full Prompting guide.
Auto Prompt
Generates a prompt from a description of the source video, the action, and any reference image. Regenerate to retry, Use Prompt to insert it for further editing. An Optimize Prompt action cleans up phrasing in your existing prompt.Generation feed
Generated images appear in two places:- Right column (live feed) — most recent results, with timestamps.
- Middle column (history by frame) — all results, organized by the source frame they came from. Click a frame group to expand it.
Per-image actions
| Action | Effect |
|---|---|
| Use this | Sets this image as the reference for the selected Render Video model. Switches to Render Video automatically. |
| Iterate | Uses this image as the base for a new image-to-image generation. Great for refining a near-miss. |
| Load settings | Loads the model, prompt, and settings that produced this image. |
| Favorite | Marks the image for easy retrieval in long sessions. |
| Download | Download the image. |
Comparison
Click any generated image to enlarge it. In the enlarged view, comparison buttons (top-left) enable side-by-side or slider comparison with the original source frame — useful for verifying preservation directives were respected.← Render Video · Workspaces · Next: Mask →